One of the drawbacks to not having an actual Android phone (for now) is that I want to see what apps are available, but Google only has a sampling of what’s available on their web site. I find that rather annoying.
Of course, I do have the emulator, and in theory I should be able to do something with that. The emulator does not come with Market access, but there are system images of the virtual devices for v1.5 and 1.6.
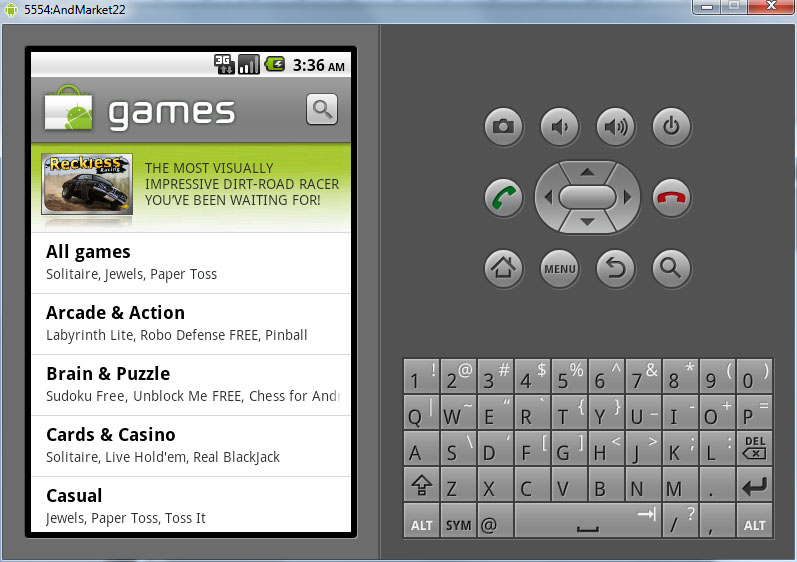
I have the v1.5, and it’s ok, but I wanted to see what was available for v2.2, which now has 36% of all Android users on it.
I ended up using a ROM image from modaco for the nexus one (note: link may require registration).
So here’s how it all comes together (note, I am using Windows below, but it’s nearly identical under Mac or Linux):
- Create an Android 2.2 AVD
Copy the system.img that comes with the Android SDK to your new AVD folder. ex:
D:\android-sdk-windows\platforms\android-8\images\system.img
to
C:\Users\drodger\.android\avd\AndMarket22.avd\
Now you’ll need to start the emulator, but you need to tell it how much internal storage to use (the default isn’t enough). In the AVD manager, select the New… button by the Hardware section, and scroll down and select the Device ram size property, and then edit the value to 128 (just click on the value). Here’s the command line version:
D:\android-sdk-windows\tools\emulator -avd AndMarket22.avd -partition-size 128
- Wait. Wait some more. The emulator is slow to load this one up sometimes. Don’t bother with the next step until the emulator has completely started.
- Now you need to get the build.prop file from within the emulator image, and make a change, and push the change back, like so:
D:\android-sdk-windows\tools\adb pull /system/build.prop
- Now edit that file (it will now be in your tools\ directory), and comment out the following line by putting a ‘#’ at the beginning of the line:
ro.config.nocheckin=yes
#ro.config.nocheckin=yes
- Now you need to push it back:
D:\android-sdk-windows\tools\adb remount
D:\android-sdk-windows\tools\adb push build.prop /system/build.prop
- Now you need the ROM you downloaded from modaco
- Look within the zip, in the \system\app folder
- Copy GoogleServicesFramework.apk and Vending.apk to your tools\ directory.
D:\android-sdk-windows\tools\adb push GoogleServicesFramework.apk /system/app
D:\android-sdk-windows\tools\adb push Vending.apk /system.app
- Remove the SDK setup package:
D:\android-sdk-windows\tools\adb shell rm /system/app/SdkSetup.apk
- Close the emulator
- Delete these files in your AVD directory: cache.img, userdata.img, userdata-qemu.img
- Ok, now go start the emulator again, and you should be good to go!